Adobe After Effects Virtual Set Tutorial
Adobe After Effects is frequently used to do more advanced chroma key virtual sets composites because of it's toolset is broader than an editors for keying and layering. I'm going to walk you through the steps of making a basic set using Studio 159, a news room from virtualsetworks.
To start, create a project at the resolution you will be working at, in our case we will be doing HD1080. Import the footage of your talent on greenscreen and some footage to display out the main window and something for the screen on the desk. Next we need to import the virtual set.

Studio 159 has mattes that are embedded as alpha channels for a desk and a screen, in this case the desk mattes have an A in the name and the screen mattes have a B in the name. When importing these files you may be asked how you want the program to handle the alpha channel. Choose Straight - Unmatted and click okay. Make sure the import as sequence checkbox is not checked (in the lower left of the import panel (if it says sequence not available, select the file you want to import by single clicking on it)).

After Effects' timeline works in a top down mentality. The highest track, in this case Desk (Studio159_HD_1080_A_0000.tga), will be shown first, then the video for the desk, then the talent, and so on. If you need to adjust the layer order, select a layer and use CTRL+ALT+UP or DOWN to move the layers into the right order.
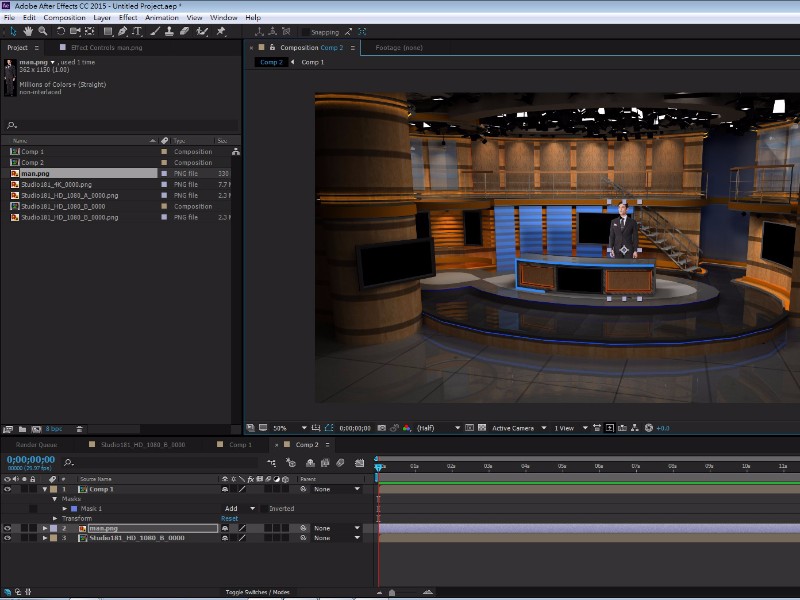
At
this point we only see the desk and desk video over the unkeyed talent.
Let's start by getting the video into the desk screen and the talent in shape by keying, masking, and sizing the talent appropriately.